
Celebrate Mom with a DIY Fruit Bouquet
(and make new core memories with the kids!)

In honour of my mom who doesn’t like blogs that ramble on, let’s jump right in on how we made our own beautiful DIY fruit bouquet for Mother’s Day (though these would be great for a host of other occasions and recipients as well)!
Tie clear hair elastics around skewer ends 
Decorate your vase 
Ready for fruit arranging!
Materials for a DIY Fruit Bouquet!
The DIY fruit bouquets we made had a bunch of components, but feel free to adapt to whatever you can thrift or buy on sale (OR splurge for if you want to buy the proper fruit skewers for example)!
Cutting the Fruit
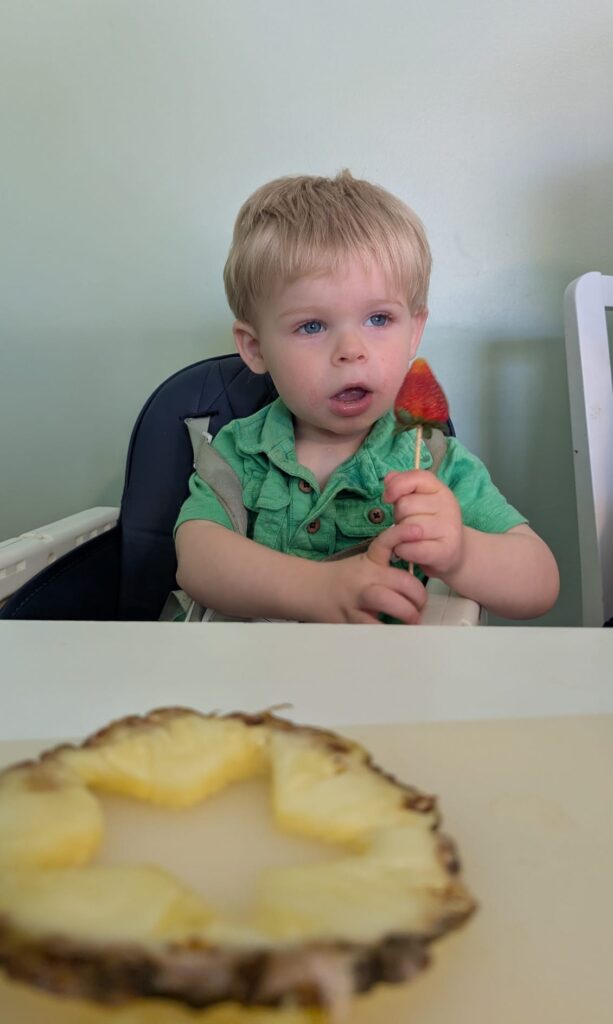
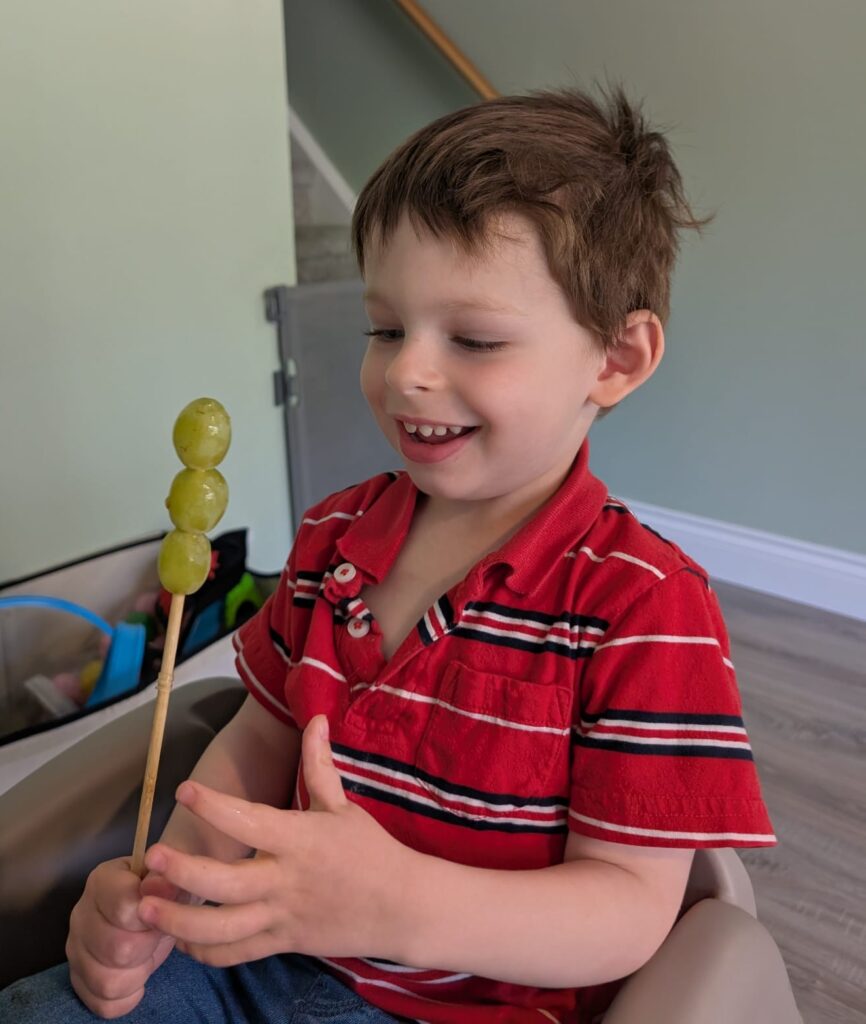
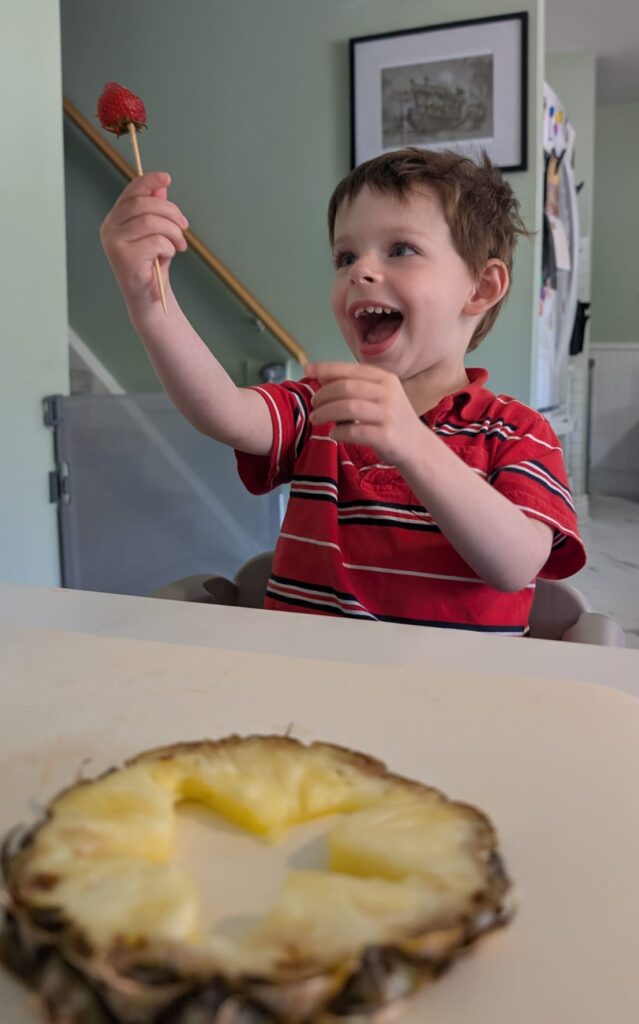
Have fun with this stage, and make sure you have lots of extra fruit for snacking!
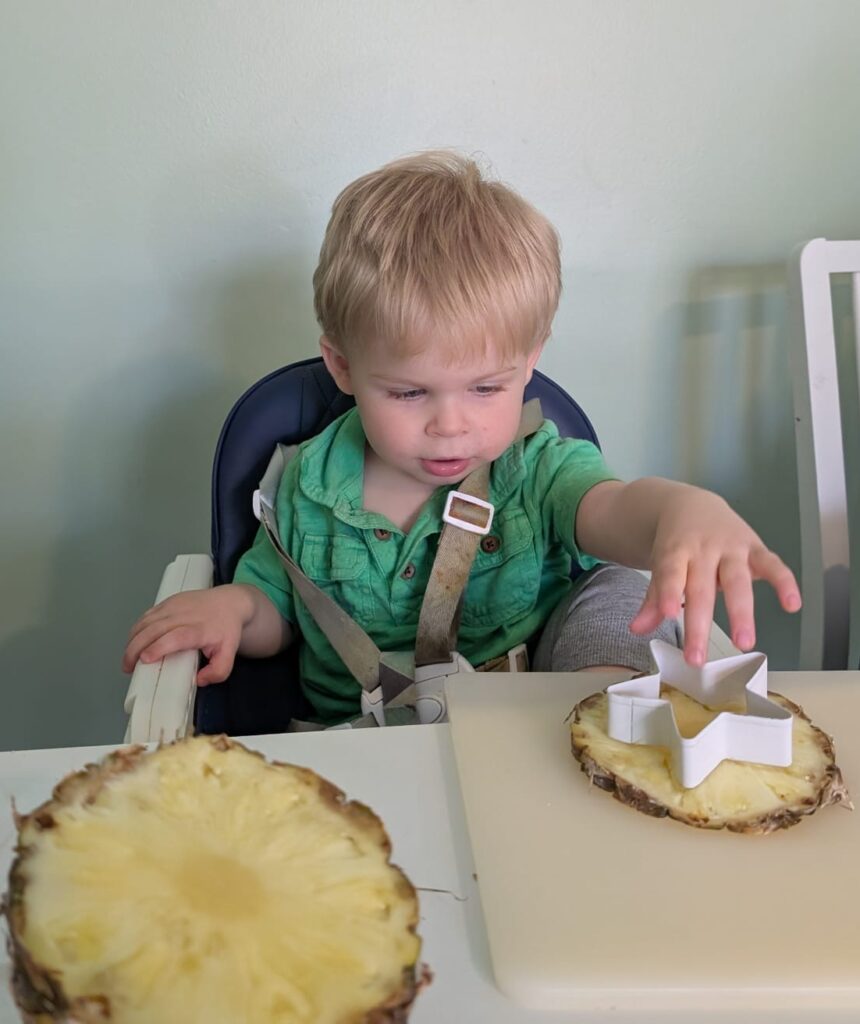
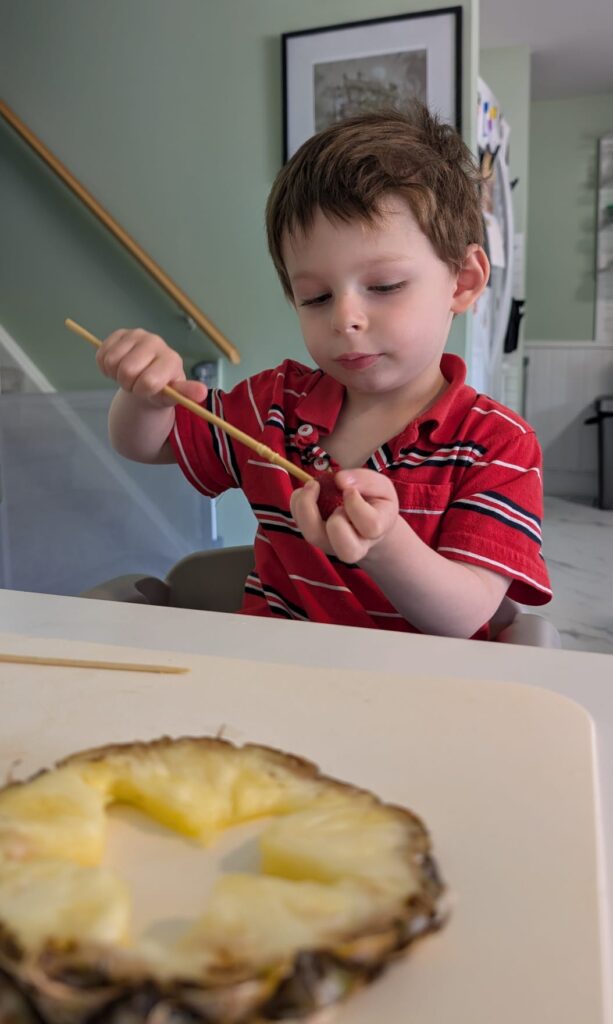
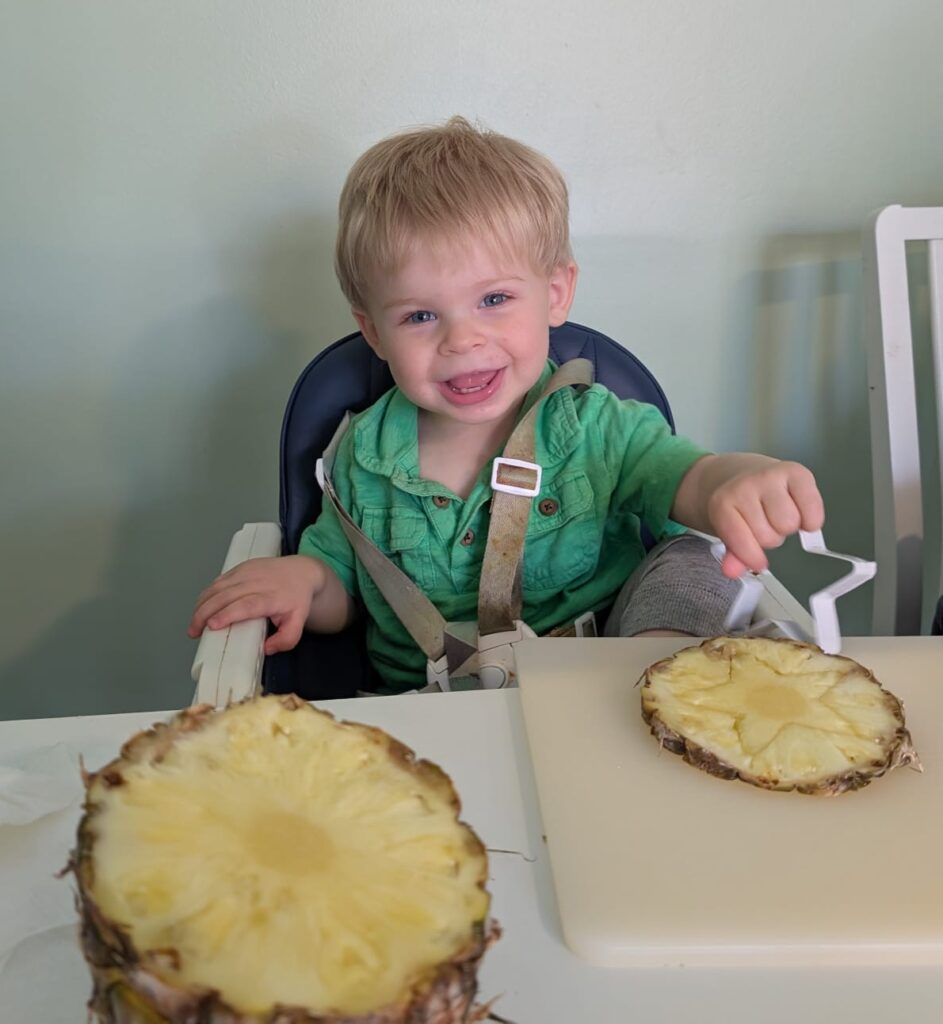
Our kids (ages 1 and 3) were no help at all as they basically just ate anything we put into their hands, but they seemed to really enjoy the process. The 3 year old just wanted to keep pressing out stars, that was his favourite bit (we used a small cutting board on top of the cookie cutter so he could press safely).
So while they ate fruit kebabs and laughed maniacally about it, we cut and poked the proper pieces into a separate bowl.


Arranging & Finishing
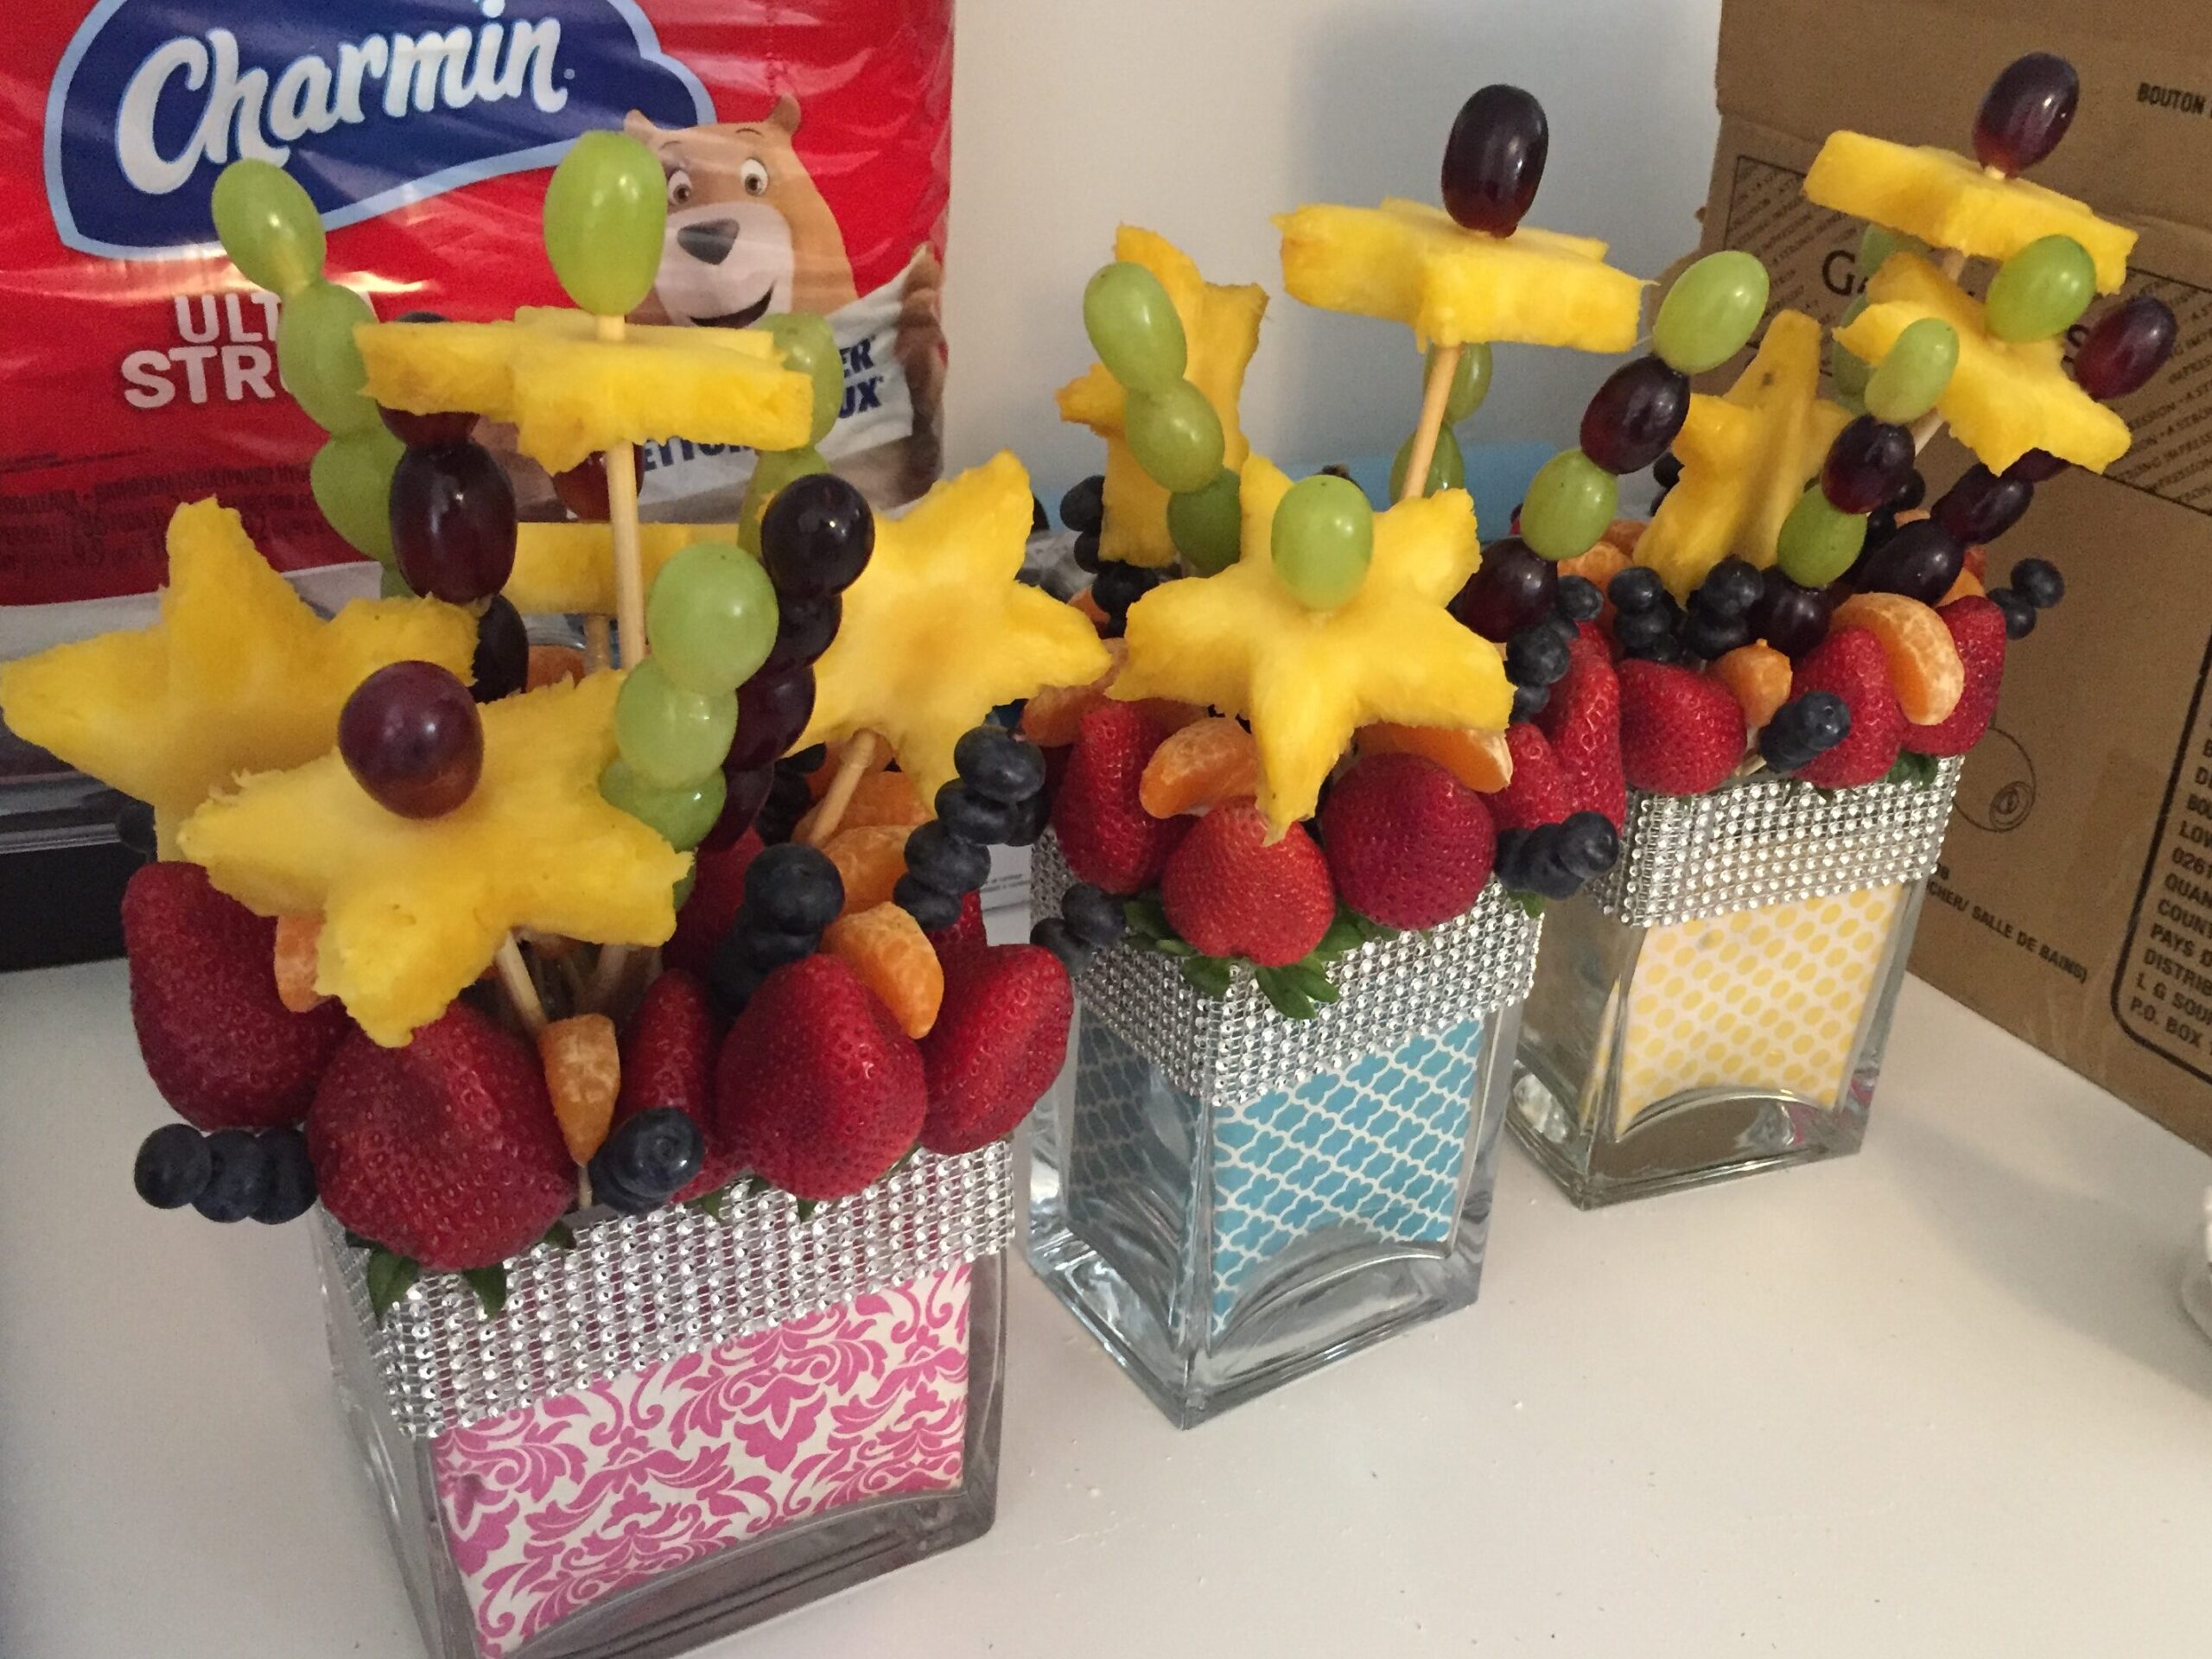
Feel free to use the arrangement in our picture for inspiration, but I fully just tried to copy a tiny Edible Arrangement bouquet from their website. I actually did the base of fat strawberries first, then stuck in skewers of different heights second. Blueberries on sticks were super filler if I had a gap.
Wrapped up in cellophane and bundled with other items for delivery (like flowers from our garden and GG’s favourite toilet paper we found on sale!), they were ready to go!
If you are doing these the night before, I suggest NOT cellophane wrapping until you are ready to deliver them. The juices from the fruits make condensation on the cello paper and the water droplet haze would hide your beautiful creation!
Overall: 10 Stars (Literally!) for Do-It-Yourself Fruit Bouquets
We LOVED doing these DIY fruit bouquets, and watching the kids have a blast sneaking snacks and “helping” to cut out stars was a great spend of time. Even the yelled out “I have sticky hands!” made for a fun “I have to wash my hands upstairs” bonus activity. Doing these bouquets ourselves was especially touching for our mom and grandmas too. Overall? Priceless.
The actual price at the end of the day though was probably comparable to our Edible Arrangements inspiration. The arrangement they have that is closest to what we did is $59. Between $10 floral foam, a $5 vase, too many skewers and all the fruit we were probably right at that $60 overall. Where we end up being cheaper was that we have enough cellophane wrap, floral foam, sticks, and elastics to make a few more bouquets in the future.
100% would recommend, and we will be doing more of these for other occasions!

Help us grow our extended family! Follow and Subscribe: